Evolution Of the GlassMorphism
Glass Morphism is one such technique that has gained popularity over the past few years but dates back to the year 2013, when Apple launched its IOS 7 with the background blur effect. It gathered more attention from the UI designers over the launch of the latest update of Apple’s MAC OS Big Sur.
Later on various companies like Microsoft adapted the ideation and named it Acrylic. They referred to it as acrylic as “Acrylic is a kind of brush that creates translucent textures”. Users could add this texture on various platforms to establish a visual hierarchy
Brief dive into Glass Morphism
Glass Morphism is one such effect that is focused on creating the blur object with a transparent and translucent effect. Pixels are set to slight opaque quotes to give it a glass or frosted glass which adds a touch of texture and dimensionality to the design for an extraordinary viewing experience. The main reason why glass morphism is being used is to establish a visual hierarchy and depth of the interface.
Ways to achieve glass morphism
The most important point that needs to be taken into consideration while using the glass morphism design element is to try and not overuse it. For better user experience it looks aesthetic when used with less elements by using a light and colorful background.
Setting the right transparency object using opacity filters is the key for perfect glass morphism vision. You shouldn’t make the entire shape transparent, only the fill. This way you will achieve a real blur background . If you do the opposite, you won’t get the desired effect.
Different types of glass morphism Effects
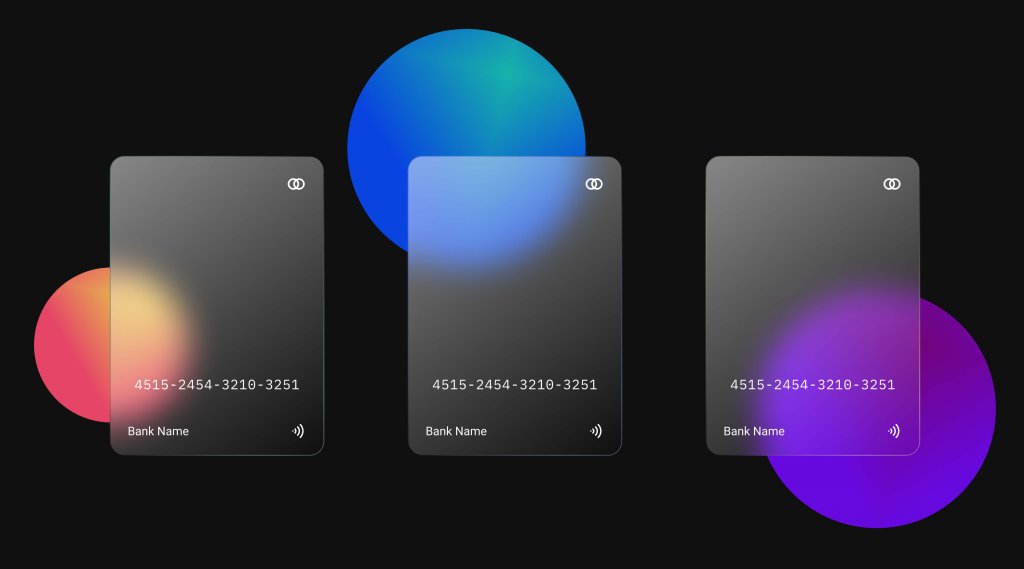
1) Soft Focus Glass Morphism
The background of the object gets blurry and a white layer is added in the front of the coloured object in a dark background. Most of the glass morphism designs give a better look when used in the dark backgrounds.
Blurring an object is one of the key aspects of glass morphism and also one of the trickiest to get just right. The main aim is to create the background image to appear as if the viewer is looking through an unfocused lens, but in just a perfect way so that it does not retain much of its haze. However, too much light for an object with a blur view on the top layer allows the background details to bleed through and clash with what’s in front.
The below layer may be a shape with a solid color or an image being translucent. The top layer gets a low opacity, allowing what’s behind it to stand out bright to make it feel better. This stack of different layers anchored over other elements to the screen, while still making the second layer look like it’s floating on top.
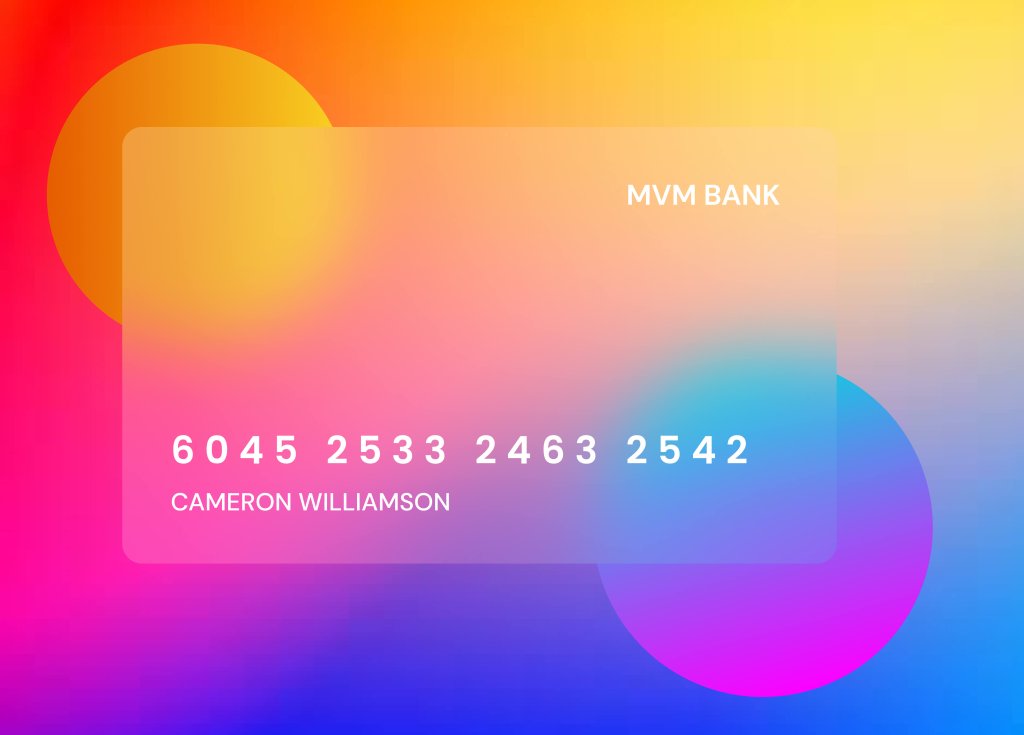
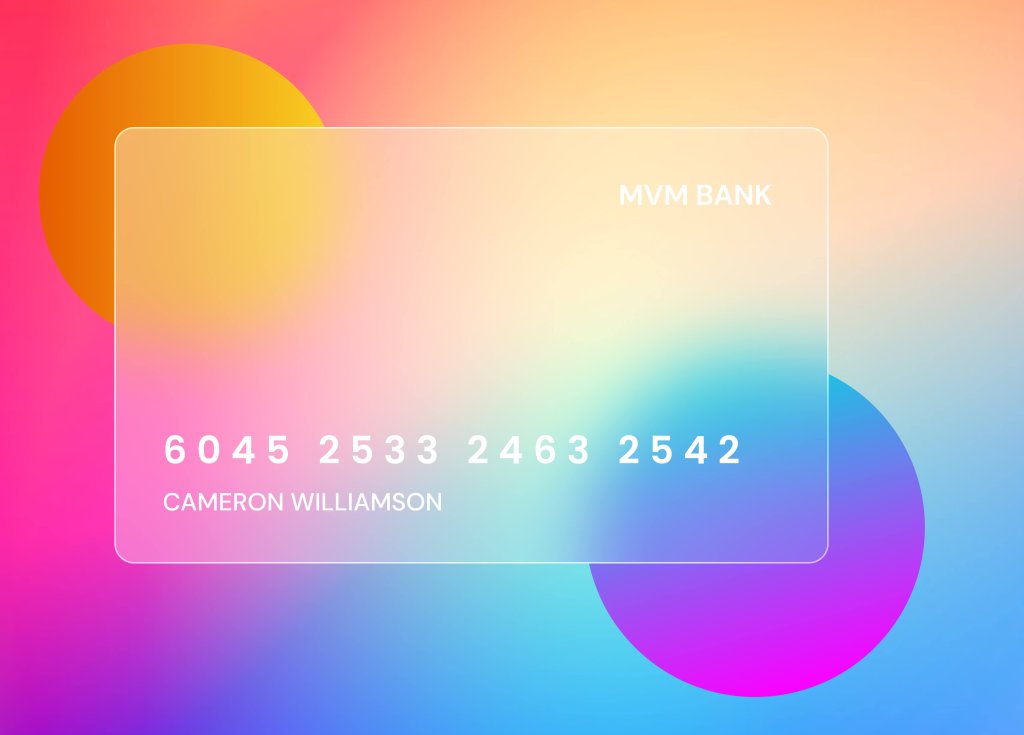
2) Thin Borders with Subtle Shadows Glass Morphism
This effect uses thin white lines and border-radius to create rounded rectangles that define the top layer of the design.
Glass Morphism is much about creating a blur effect, adding borders to the blurred object helps to provide a good quality definition. The image below shows a demonstration of an object with the borders which not only separate the information displayed but also they also resemble the shape of a card. Ideally, borders are lightweight so they don’t distract from the design. Shadows can also be applied to the object to add sense of dimensionality
3) Frosted Glass Morphism
This frosted glass incorporates all we love about this effect. The main attraction in this section offers a cloudy display to the background, with an image placed on top of it. In addition, a micro-interaction shifts this rectangle on the different axis, further adding to its sense of dimensionality of the object.
Conclusion
We might love using a minimal and a flat design to give the user a clean User interface to the user. But as per the requirement when should mold our design to give it an aesthetic look. All it requires is creating a stack of fw layers and adding some blur to give it a fine tuning until you get what you desire. Glass Morphic UI elements go best in your projects with minimum usage. Digital materials have their own rules, but it is worth it to inspire from future.